
To create a client
- Open your workspace.
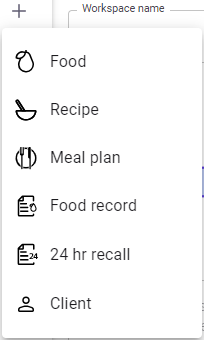
- In the navigation pane, select Create new resource or client > Client.
- Enter the client's personal information and click Save.
To edit a client
- In the navigation pane, select the client.
- Make the necessary edits.
Dashboard tab fields
-
Name
- Enter the client's name.
-
Tags
-
Optional: Create and add client tags for organisation.
-
Profile
- Age
- Enter the client's date of birth or their age in years.
- Sex
- Enter the client's sex.
- Current weight
- Enter the client's weight for the first time upon creating a client. If you do not enter a weight upon creating a client, you will need to log the current weight and any future weights on the Graphs tab.
- Current height
- Enter the client's height for the first time upon creating a client. If you do not enter a height upon creating a client, you will need to log the current height and any future heights on the Graphs tab.
- BMI
- The client's Body Mass Index (BMI) is calculated using the most recent entry for their height and weight.
- Activity level
- Enter the client's activity level. For more information on activity levels, see Physical Activity Levels explained.
- PAL
- The physical activity level (PAL) factor is derived from the set Activity level.
- Lactating
-
Optional: Select if the client is currently lactating.
- Pregnancy stage
-
Optional: Select the relevant pregnancy stage.
-
Energy requirements
- Energy goals
- Estimated Energy Requirement (EER) and Basal Metabolic Rate (BMR) are calculated using the Schofield equation. For more information, see Nutrient Reference Values explained. This can be updated on the nutrient targets tab Energy goals explained.
-
Contact details
- Email
-
Optional: Enter the client's email.
- Mobile
-
Optional: Enter the client's mobile.
- Address
-
Optional: Enter the client's address.
-
Notes
-
Optional: Make notes about your client.
Comments
Please sign in to leave a comment.